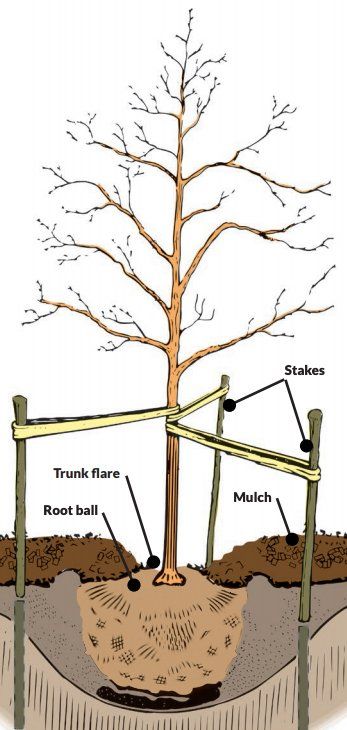
- DIG a shallow, broad planting hole. Holes should be 2–3 times wider than the root ball, but only as deep as the root ball.
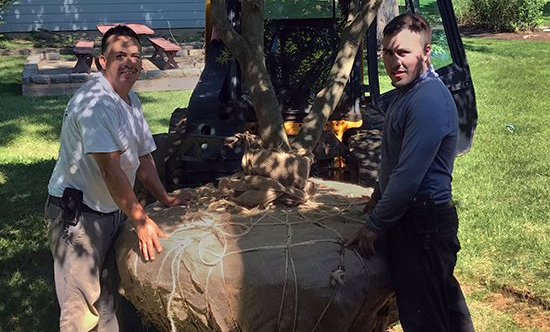
- REMOVE WRAPPING from around the root ball and as much of the wire basket as possible to facilitate root growth. Inspect tree root ball for circling roots and straighten, cut, or remove them.
- Ensure the trunk flare is partially visible when the tree is planted. The flare is where the trunk expands at the base of the tree. Remove excess soil from the root ball prior to planting if flare is not visible.
- POSITION the tree at the proper height with the trunk flare visible. Try to lift by the root ball, not the trunk. Planting too deep will be detrimental because most of the roots develop in the top 12” of soil.
- STRAIGHTEN the tree so it will look best from the angle it is viewed most. Before filling the hole, examine the tree from several angles to confirm it is straight.
- PACK SOIL around the base of the root ball gently but firmly to stabilize it and eliminate air pockets. Fill the hole with quality soil wet to a muddy consistency. Further reduce air pockets by watering periodically while backfilling. Avoid fertilizing at the time of planting.
- If STAKING is necessary, three stakes provide optimum support. Trees develop stronger trunks and roots if they are not staked, however it may be required. Always remove stakes after the first year of growth.
- MULCH the base of the tree. Place a 2–3” layer of mulch but be sure to leave a mulch-free area of 1–2” at the base of the tree to reduce moist bark and prevent decay.
- WATER once a day for the first week to keep the soil moist and then at least once a week or more frequently during hot, windy weather. Continue until mid-fall, tapering off as temperatures lower.
- PRUNING of branches damaged during the planting process may be required but do so sparingly after planting. Delay corrective pruning until a full season of growth.
How To Plant A Tree
PINE BROOK STAFF • June 25, 2021
Proper Practices for Planting a New Tree
Trees are an investment. How well that investment grows depends on several factors including, the type of tree planted, its location and the care provided. Getting your new tree off to a healthy start will help the tree mature to its full size and ensures it will provide environmental, economic, and social benefits throughout its lifetime.
When to Plant a Tree
With consistent follow-up care, healthy balled or container trees can be planted throughout the growing season. But dormant seasons, the fall after leaf drop and early spring before budding are ideal times to plant new trees. Be sure the weather conditions are cool and allow time for new plants to establish roots in the new location before spring rains and summer heat stimulate new top growth.
How to Plant a Tree
Carefully follow these steps to help your tree establish quickly in its new location:
Planting Stress
Transplant shock is a state of slowed growth and reduced vitality following transplanting. It can affect trees dug and balled a nursery, where they lose a significant portion of their root system. Container trees may also experience transplant shock. Proper site preparation, careful handling to prevent further root damage, and good follow-up care reduces the stress of transplant shock and promotes faster recovery.
Do It Right for the Health & Beauty of Your Landscape
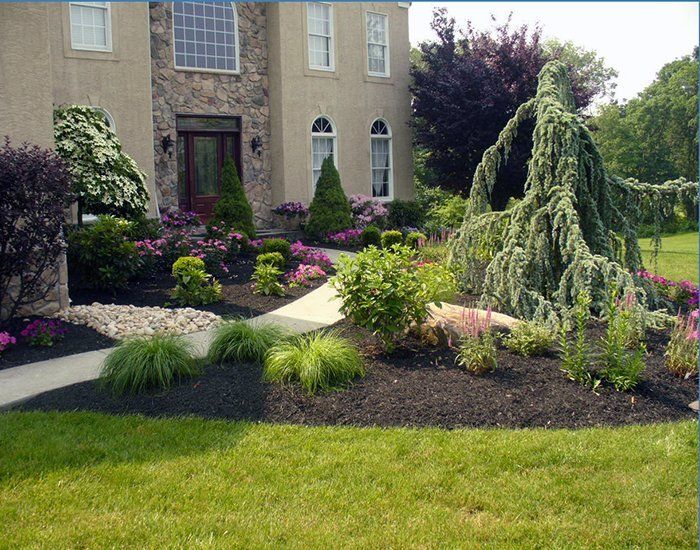
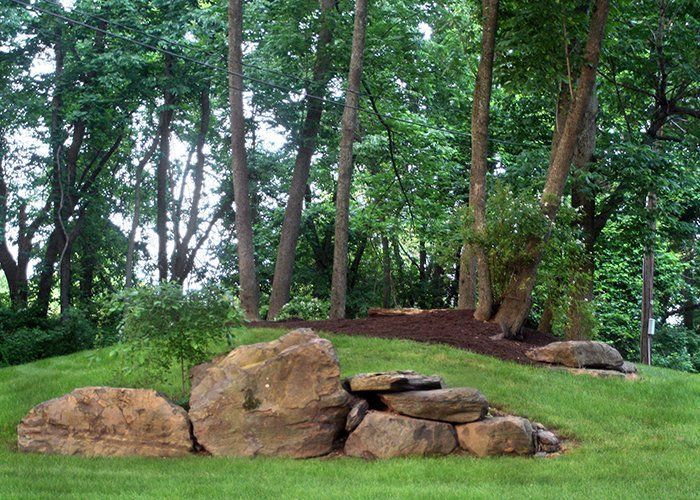
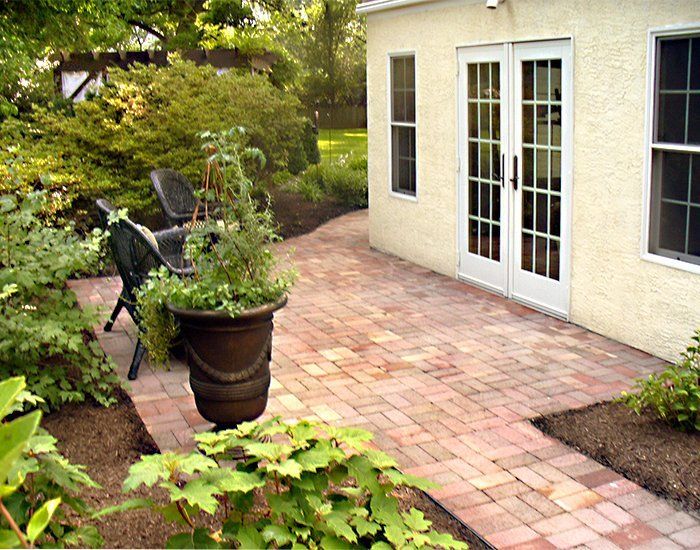
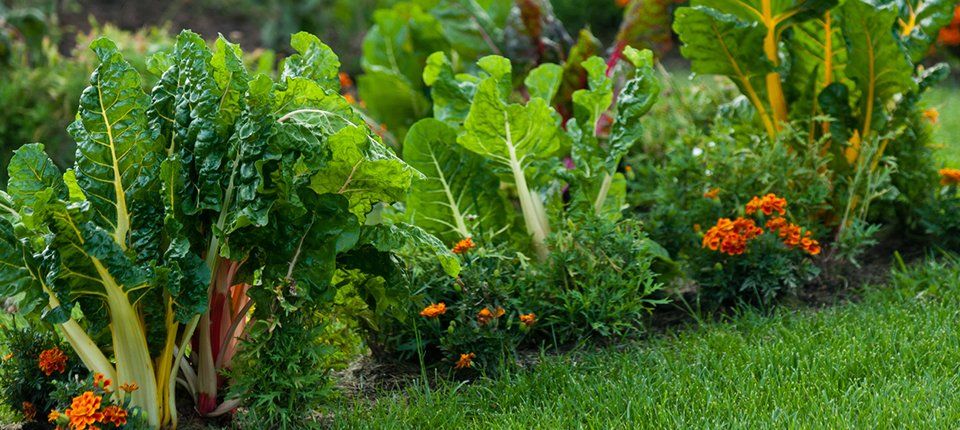
A tree can last hundreds of years if planted properly. The benefits of trees extend far beyond the beauty they bring to the landscape. Tree give off oxygen, reduce the amount of stormwater runoff, provide protection, and offer many other social, environmental, and economic benefits. There are many factors that go into a successful tree planting. A lot of trees struggle from the outset and won’t last more than a decade or so due to improper planting and that’s unfortunate. Check out www.TreesAreGood.org for more helpful information.
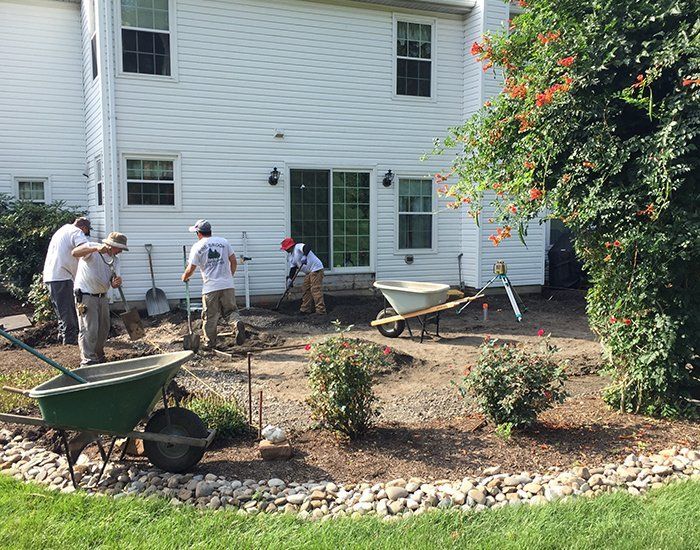
You can count on the professionals at
PINE BROOK LANDSCAPING for expert
tree planting services. With our proven a level of knowledge in the art and science of
tree and shrub care, we have proudly been serving Philadelphia, Bucks and Montgomery Counties since 1988.
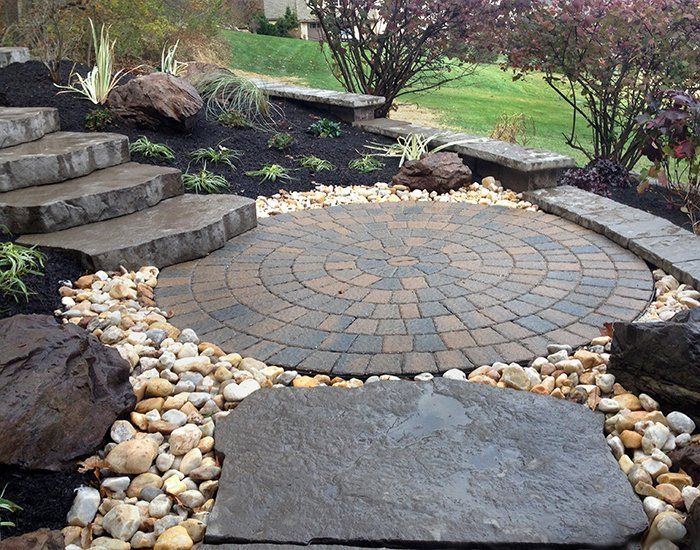
PINE BROOK is a full service
landscaping,
hardscaping,
lawn care and general
property maintenance services company for all of your outdoor improvement needs. Our success is based upon the foundation of expert execution and
superior customer service!
Click to contact us online or call 267-718-1771 and get a quote for planting your new trees this season.
RECENT BLOG POSTS
Caring for your lawn the right way will allow you the pleasure of a healthy, luxuriant green lawn. Lawn mowing may be a weekly ritual but are you sure you are doing it correctly? One of the secrets of a lush lawn is mowing your grass to the right height. Attentive lawn mowing services will keep your grass healthy and also help increase the density of your lawn...
If the thought of cutting into what looks like a perfectly happy plant makes you cringe, you're not alone. Even homeowners who know the benefits of pruning—better health, more pleasing habit, bigger flowers—are often still confused about exactly the right time and right way to make the cuts. But once you understand how plants respond to pruning, you'll realize how many problems a well-placed cut can solve...
After nearly a year of confinement, our outdoor spaces have become sanctuaries of solace and sanity. We all want to find more ways to integrate the gentle presence of nature into our dwellings. The pandemic has reinforced the idea that green spaces and private outdoor space improve health and mental wellbeing. Naturally, landscape and hardscape design has become a priority. Here are some predictions on the outdoor design trends that will influence our spaces in 2021...
The increased time spent at home in 2020 has given many homeowners reason to reevaluate how they utilize their outdoor spaces and the need to make them more functional. This move toward considering outdoor spaces an essential extension of the home is the common thread that runs through many of the top hardscape and landscape design trends for the upcoming year...